Set up Nextcloud: Step by step guide
This is the second post in a row in the Moving away from Google services series. With the intention of replacing Google Drive, I have decided to try out a Nextcloud self-hosted solution.
Why Nextcloud?
It can replace the storage feature Google Drive offers.
It can upload mobile photos automatically, which replaces Google Photos.
You can install it on your home machine.
You can install many different applications inside Nextcloud, such as
Carnet to replace Keep Notes from Google.
You can link external storage via SFTP or SMB
Via WebDAV, it syncs calendar events and tasks.
Office documents management.
Support for adding users, family management, and its photos synchronization as well.
Basically, it supports a wide range of features I consume from Google every day.
Private or “almost private”
If we’re running a private cloud, then it should be hosted on a machine we physically have control of. I don’t have a spare machine to run it on, so I’ve decided to purchase a smallest and cheapest VPS I could find. Time4VPS is a great service with very acceptable prices. I’ve purchased Linux 2 package for 4 Eur per month. It offers:
Single-core CPU on 2.6GHz
2GB of RAM
20GB SSD storage
Linux distribution of choice. I’ve decided to install Ubuntu Server 18.04.
It’s worth mentioning that I’ve tried installing Nextcloud on Raspberry 3 Model B at home. While the installation was successful and Nextcloud was running, unfortunately, Raspberry 3 have 1GB of RAM only, which isn’t enough to host Raspbian, Nextcloud and MariaDB server, as MariaDB alone eats ~600MB.
It’s important though, that if you have a Raspberry 4 at hand with at least 2GB RAM, you can install Nextcloud on Raspbian without issues. It’ll work.
I have decided to go with the VPS option due to my Raspberry performance issues. It’s the almost private solution, as my virtual machine is somewhere in Lithuania.
Installing Nextcloud
Whether you choose to purchase a VPS or go with home setup, this guide assumes Debian based operating system in the background.
1. Install dependencies
Nextcloud is a PHP application running on MySQL database by default. Therefore we have to install its dependencies first:sudo apt install apache2 mariadb-server libapache2-mod-phpsudo apt install php-gd php-json php-mysql php-curl php-mbstring php-intl php-imagick php-xml php-zip
2. Download and unpack Nextcloud
Navigate to /var/www/ directory. You can find the latest Nextcloud version here.sudo wget https://download.nextcloud.com/server/releases/nextcloud-19.0.0.zip
Extract downloaded packagesudo unzip nextcloud-19.9.9.zip
Make sure that the directory structure looks like this: /var/www/nextcloud/ with the nextcloud contents inside.
3. Prepare database
Execute
sudo mysqlto enter MySQL CLI.Create nextcloud user:
CREATE USER 'nextcloud' IDENTIFIED BY 'nextcloud';Create nextcloud database:
CREATE DATABASE nextcloud;Wire these two by adding permissions:
GRANT ALL PRIVILEGES ON nextcloud.* TO 'nextcloud'@localhost IDENTIFIED BY ‘nextcloud’;and then flush’emFLUSH PRIVILEGES;Quit MySQL CLI:
quit
4. Configure Apache
User permissions
Our web server is Apache and the user it creates is named www-data. Therefore, we have to allow this user to access to nextcloud directory so that Apache can serve its contents. While you’re in /var/www directory, execute these commands:sudo chmod 750 nextcloud -Rsudo chown www-data:www-data nextcloud -R
Configure Nextcloud
Navigate further to /var/www/nextcloud/config and open config.php file. This file contains the basic configuration of the Nextcloud setup and should be customized to fit our needs. I had a couple of push-n-pulls with this configuration until I make it correct.sudo nano config.php
This is the example of my configuration:
<?php
    $CONFIG = array (
    'passwordsalt' => 'some_salt',
    'secret' => 'some_secret',
    'trusted_domains' =>
    array (
        0 => 'nextcloud.dusko.dev',
    ),
    'datadirectory' => '/home/dusko/nextcloud_data',
    'check_data_directory_permissions' => false,
    'dbtype' => 'mysql',
    'version' => '18.0.3.0',
    'dbname' => 'nextcloud',
    'dbhost' => 'localhost',
    'dbport' => '',
    'dbtableprefix' => 'oc_',
    'dbuser' => 'nextcloud',
    'dbpassword' => 'some_password',
    'installed' => true,
    'instanceid' => 'ocgn1qo2r675',
    'overwrite.cli.url' => 'https://nextcloud.dusko.dev',
    'htaccess.RewriteBase' => '/',
    'preview_max_y' => '1024',
    'preview_max_x' => '1024',
    'jpeg_quality' => '60',
    'maintenance' => false,
    'twofactor_enforced' => 'true',
    'twofactor_enforced_groups' =>
    array (
    ),
    'twofactor_enforced_excluded_groups' =>
    array (
    ),
    'has_rebuilt_cache' => true,
    );
Note on some of these properties:
- trusted_domain has to be set properly, if you’re serving Nextcloud via your domain. In my case, it’s a CNAME pointing to VPS.
- I was forced to set check_data_directory_permissions to false as the data directory, I set to be used is shared between multiple users, + the path I’ve set is a soft link and I had a hard time setting this up properly. The easiest way of going around was to set it to false and never look back.
- preview_max_x and preview_max_y is related to thumbnails. There is a detailed thumbnails explanation in Nextcloud: Honest review post. I have literally lost a whole week on setting this up and I’m still suspicious if it works properly.
Enable Nextcloud
To make Nextcloud available on the webserver, we have to play with Apache a bit. First, let’s configure the nextcloud virtual host.
Open nextcloud.conf from sites_available directory:sudo nano /etc/apache2/sites-available/nextcloud.conf
Here is an example of my configuration which includes Alias and subdomain with SSL setup. Alias is just a showcase as you might want to serve nextcloud on example.com/nextcloud. In my case, that’s not feasible and I went with subdomain setup.
Alias /nextcloud "/var/www/nextcloud/"

<Directory /var/www/nextcloud/>
        Require all granted
        AllowOverride All
        Options FollowSymLinks MultiViews

        <IfModule mod_dav.c>
                Dav off
        </IfModule>

</Directory>
<IfModule mod_ssl.c>

    <VirtualHost nextcloud.dusko.dev:443>

        ServerAdmin my_email.com
        ServerName nextcloud.dusko.dev

        DocumentRoot /var/www/nextcloud

        ErrorLog ${APACHE_LOG_DIR}/error.log
        CustomLog ${APACHE_LOG_DIR}/access.log combined

        SSLEngine on
        SSLCertificateFile      /etc/ssl/certs/dusko.dev.pem
        SSLCertificateKeyFile   /etc/ssl/private/dusko.dev.key.pem

        <FilesMatch "\.(cgi|shtml|phtml|php)$">
            SSLOptions +StdEnvVars
        </FilesMatch>
        <Directory /usr/lib/cgi-bin>
            SSLOptions +StdEnvVars
        </Directory>
    </VirtualHost>
</IfModule>
Now we just have to enable the site and open it. Execute these two commands:sudo a2ensite nextcloudsudo a2enmod rewrite headers env dir mimesudo systemctl restart apache2
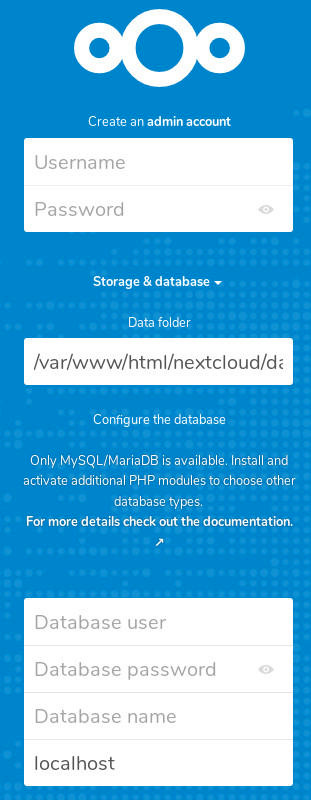
Open the domain you’ve set and you should be greeted with the Nextcloud config page.
Upon logging in, you can install necessary applications and go through Settings section, to restrict access and tighten up the security a bit.
5. Mobile app
By installing Nextcloud on private server and setting up everything correctly, next step is to connect the mobile application to our Nextcloud instance. As I have the Android device only, I’ve tested and used the Android version only.
Go to PlayStore, and download the app.
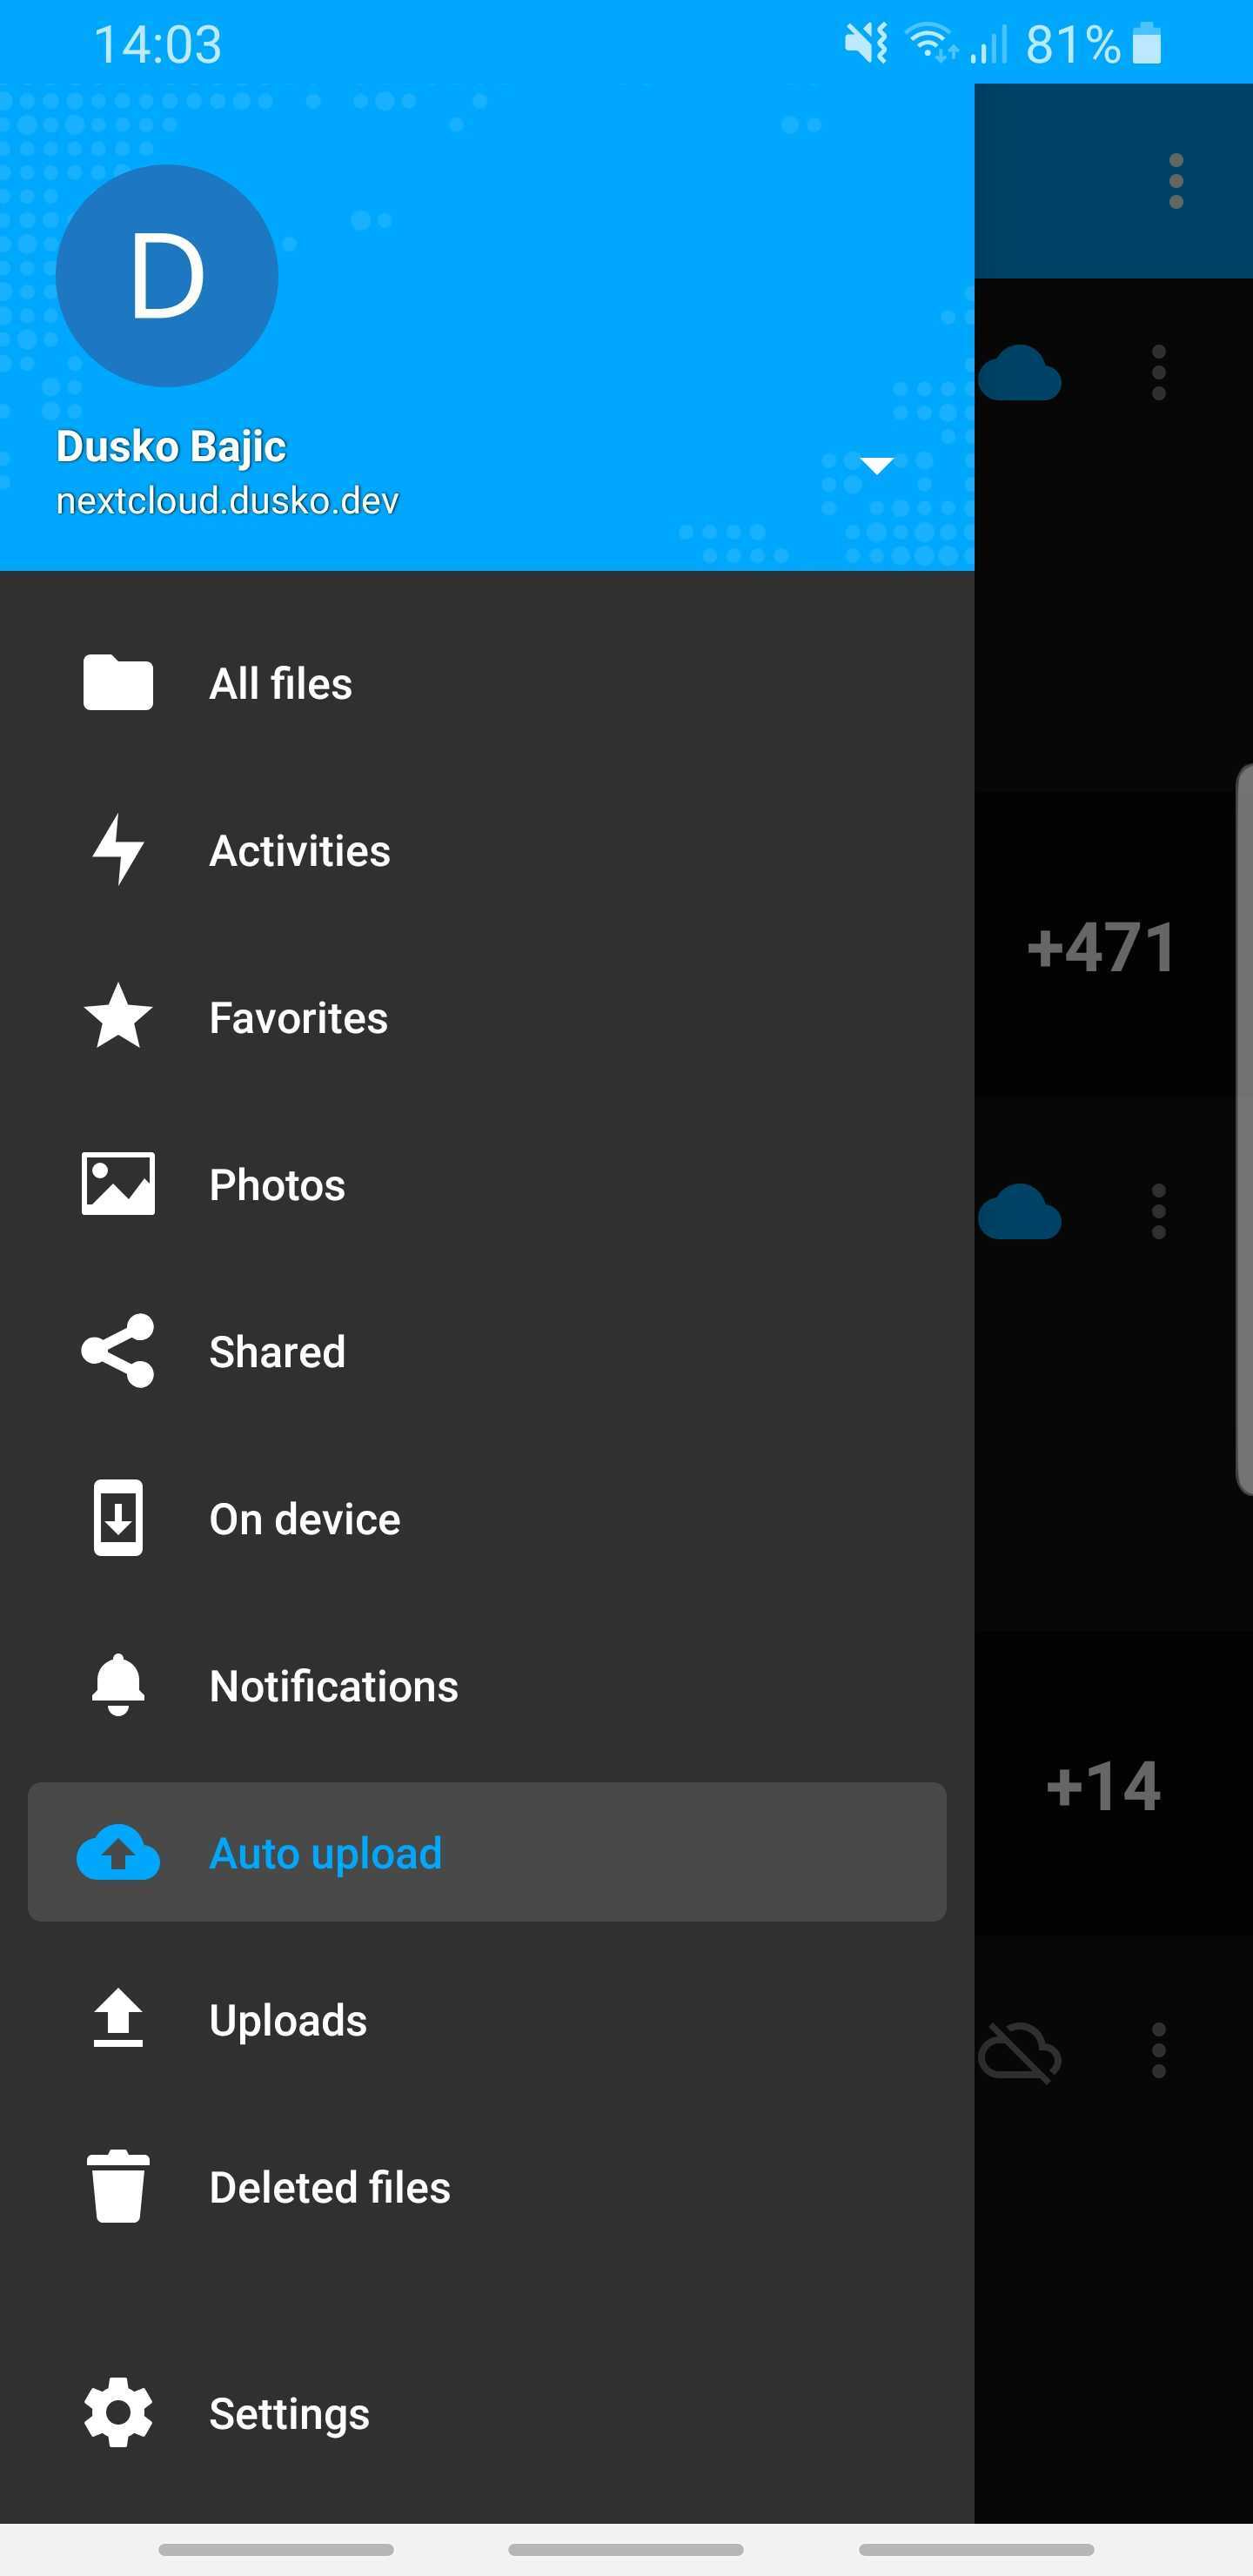
On the first run, you’ll be prompted to enter the server URL and credentials. Once you pass that, you should be able to see the files and set up the Auto-Upload feature.
Mobile application is a highly troubling product at the moment. Its review is part of Nextcloud: Honest review as well. Make sure to go through that post before you decide whether to install the Nextcloud or not.


